
Hey everyone! It’s time again for a how-to in eyeshadow for makeup learners and beginners. I use 3 colors for my eyeshadow on almost every look I use. Once you know this simple technique, you can do just about anything! Read on for my tutorial.
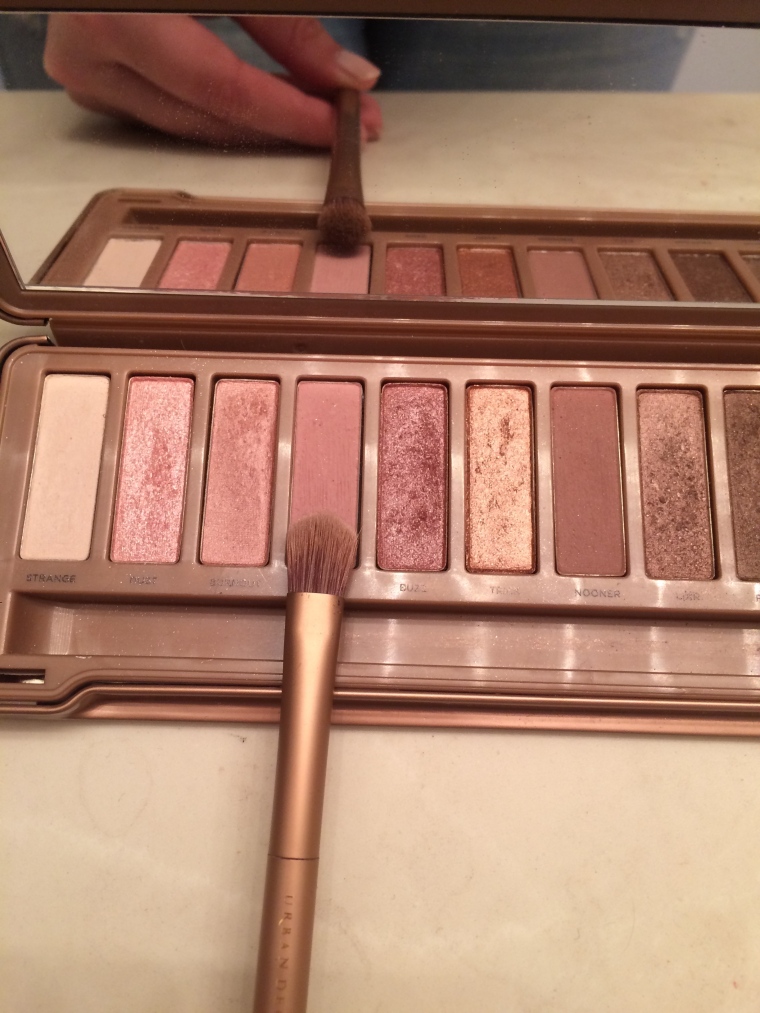
The first step in a 3 color eyeshadow look is the lightest color. You want a light, medium, and dark color. For palettes like the Naked3, I usually go from left to right as well, because it is arranged lightest to darkest. My first color is called Limit. It is a nice dusty pink. I applied this on my whole eyelid.


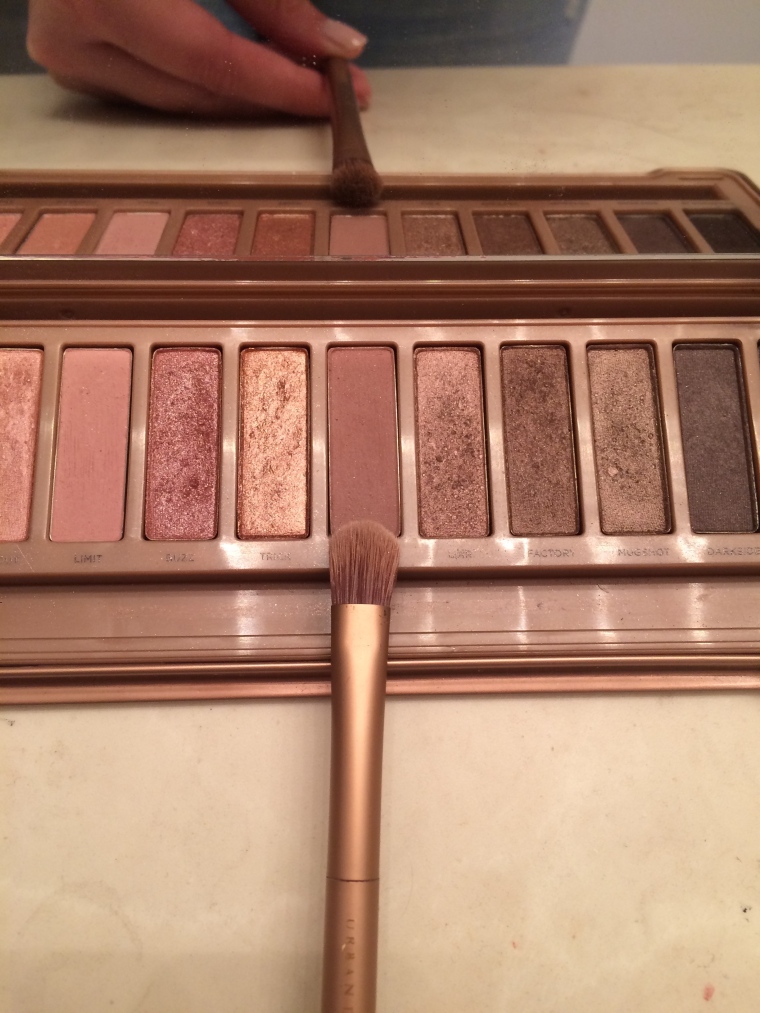
Next up is my medium color, Nooner. I recommend a mid-tone neutral tone for the crease. The purpose of this second color is to create a shadow and definition in your natural crease. Use a fluffy blending brush to apply this color to your crease as shown below.


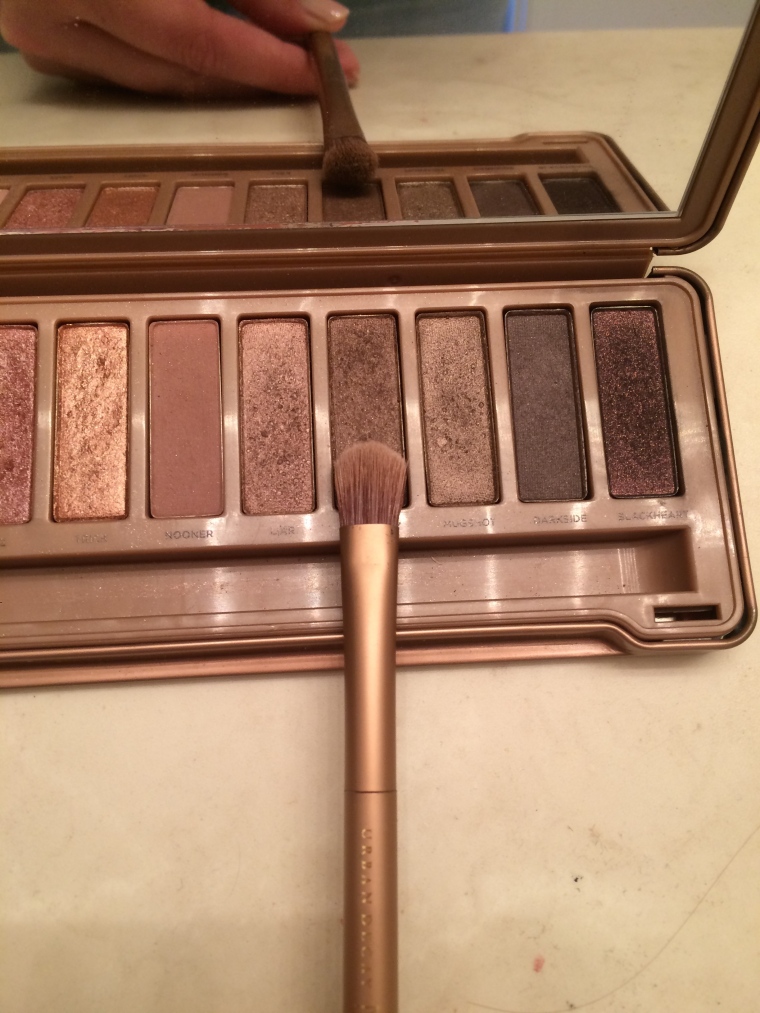
Finally, we’ll use our darkest color, the shadow Factory. I think just about every color in this palette looks beautiful in combination. The darker color is for your outer corners. It adds extra definition and intensifies a look. You can also use your blending brush to soften the edges if you want.


Now, with a layer of mascara, your look should be finished! I use this technique with just about every color combination. It’s a simple way to make your eye makeup look sophisticated and beautiful. I’m definitely no professional, so this is the perfect way to apply makeup quickly and easily! I hope you enjoyed today’s post! Don’t forget to follow me on social media below.
-Kate

Great! Love those step by step tutorial.
LikeLike